
How to use screen protectors
Share
How To Apply & Remove A Screen Protector
Having a screen protector for your phone or tablet is a great way of ensuring that the screen is well protected against impacts and scratches. They are also important for maintaining a smooth and responsive touchscreen, as well as helping your device retain its value should you wish to sell it in the future.
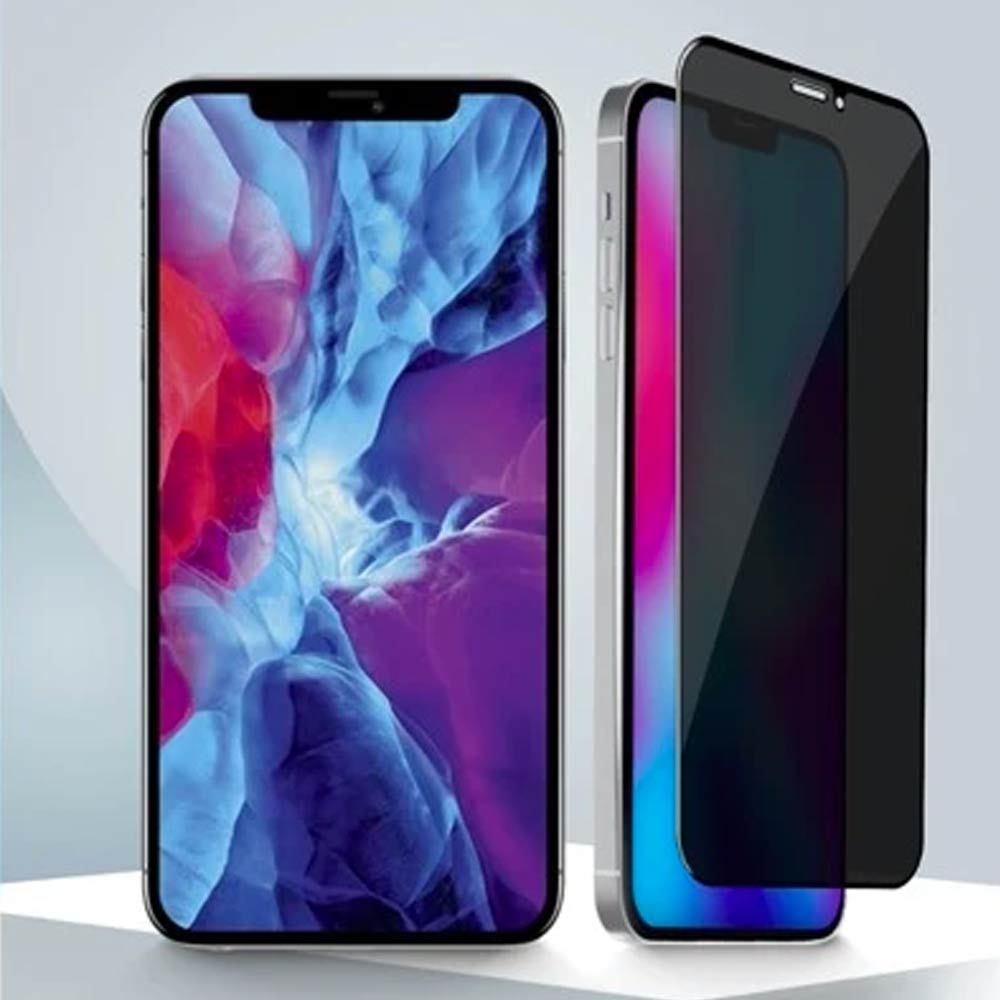 Unfortunately, screen protectors can be notoriously fiddly to apply, and need to be replaced every so often to ensure they are providing maximum protection and to remove any infuriatingly persistent air bubbles!
Here at Wrappz, we know a thing or two about keeping phones scratch and scuff free, which is why we’ve created this handy guide to all things screen protectors. So whether you’re unsure which type to buy, want to know how to apply a new one, or looking for the best way of removing an old screen protector, we’ve got you covered!
Which screen protector should I buy?
If you search the internet for “screen protector”, you’ll likely be overwhelmed with the vast amount of brands, prices, and types, making it hard to understand which type best suits your phone and budget.
To make things clear, we’ve outlined the three most common types of screen protector, along with the advantages and disadvantages of each.
Polyethylene Terephthalate (PET)
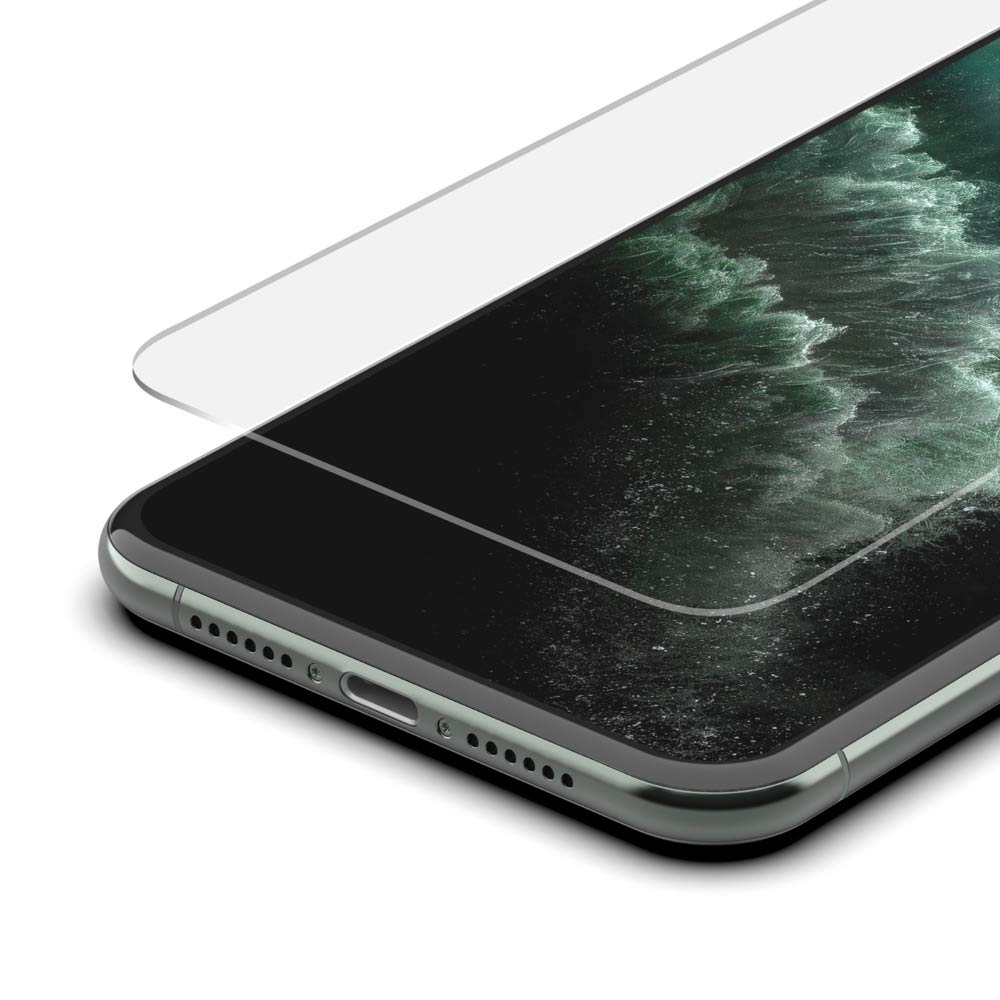 The positives are that PET protectors are very light, smooth, and thin, so you will hardly notice them on your phone after applying.
The downsides of PET are that it’s a stiff plastic and therefore cannot go edge-to-edge on phones with curved screens, leaving areas of your device vulnerable. Despite this, they do offer moderate protection against and bumps considering their relatively low cost.
Thermoplastic Polyurethane (TPU)
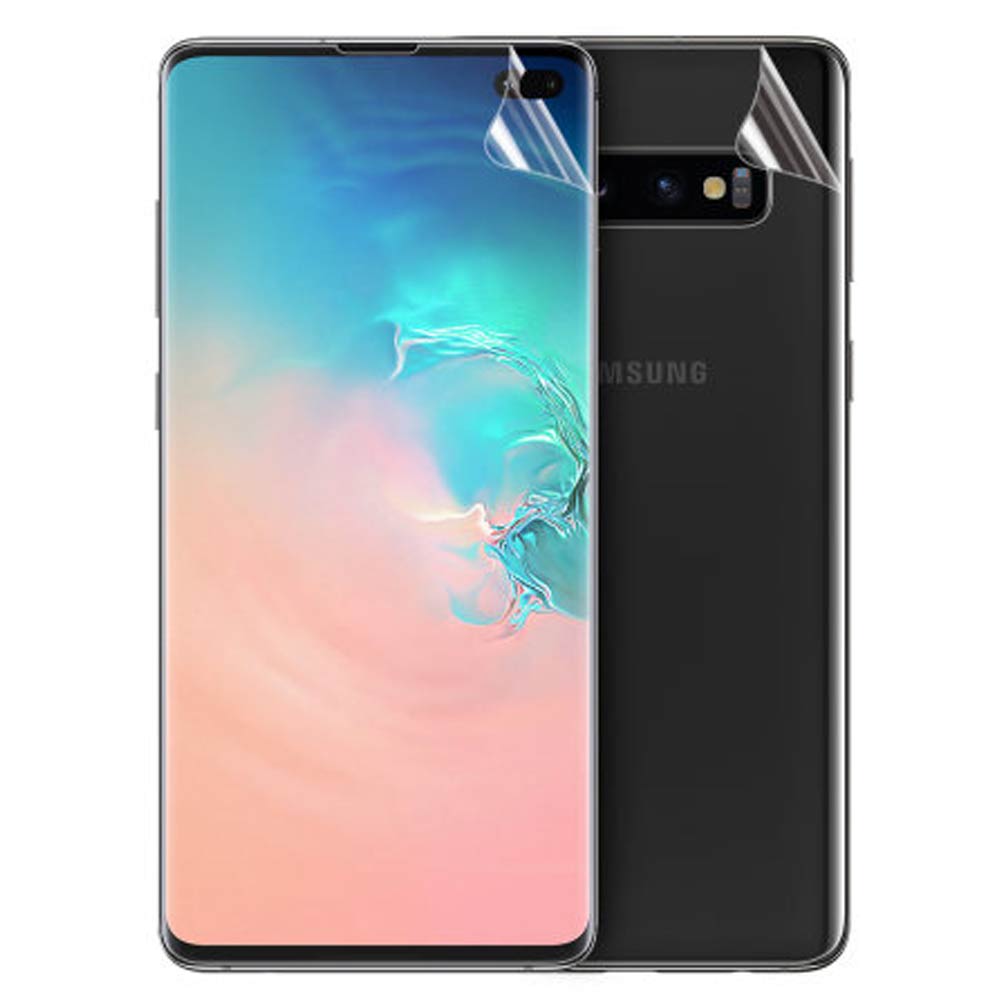 TPU screen protectors are notoriously difficult to apply, requiring a lot of spraying solution and squeegeeing. Another issue with TPU protectors is that they give your screen a rubbery texture and can cause a slightly unpleasant “orange peel” glare.
However, TPU screen protectors aren’t without their benefits; they have better protection against impact than PET, and the material is “self-healing” against small scratches. They are also flexible, making PET screen protectors ideal for phones with curved screens.
Tempered Glass
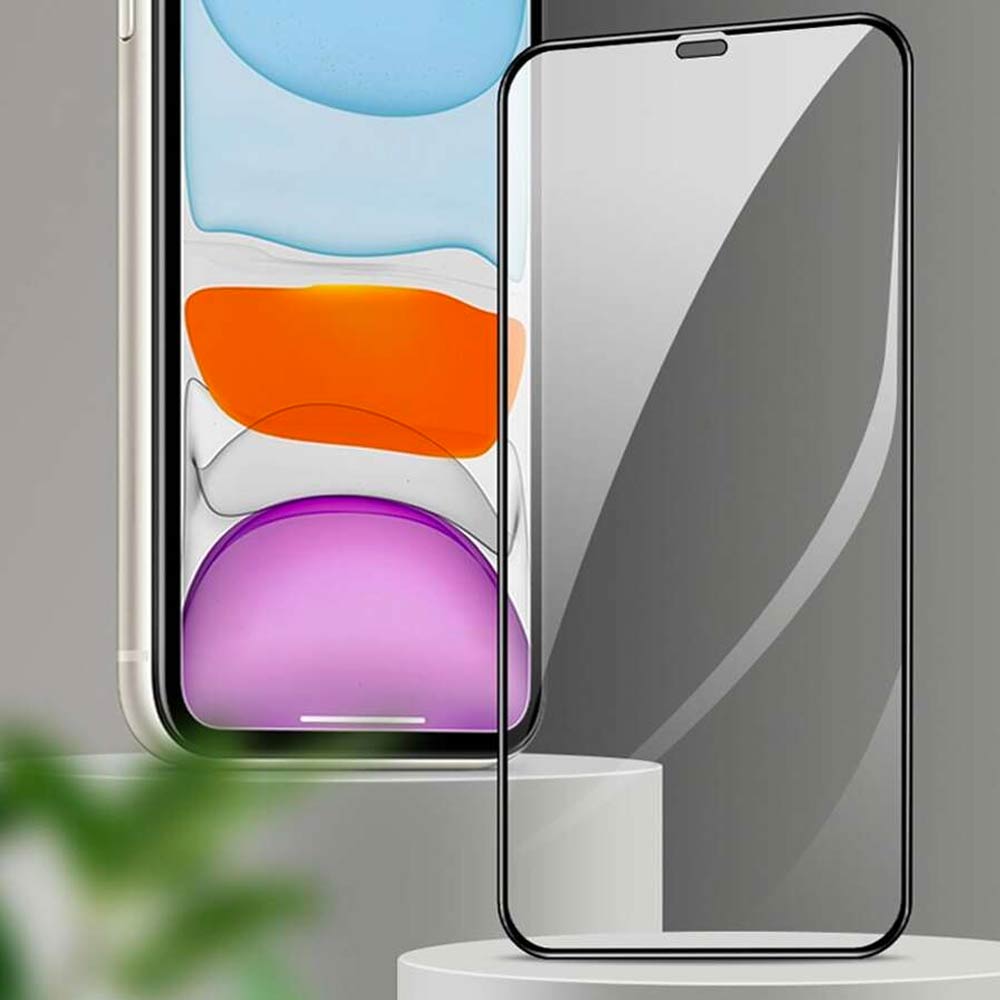
Tempered glass screen protectors are the toughest in terms of scratch and drop protection, and can be bought relatively inexpensively these days. They are much smoother to touch than TPU, and can also come with useful features such as privacy and anti-glare.
The downside to glass screen protectors is their thickness, making them much more visible and not ideal if you prefer something more subtle that blends into your screen.
Which screen protector is best?
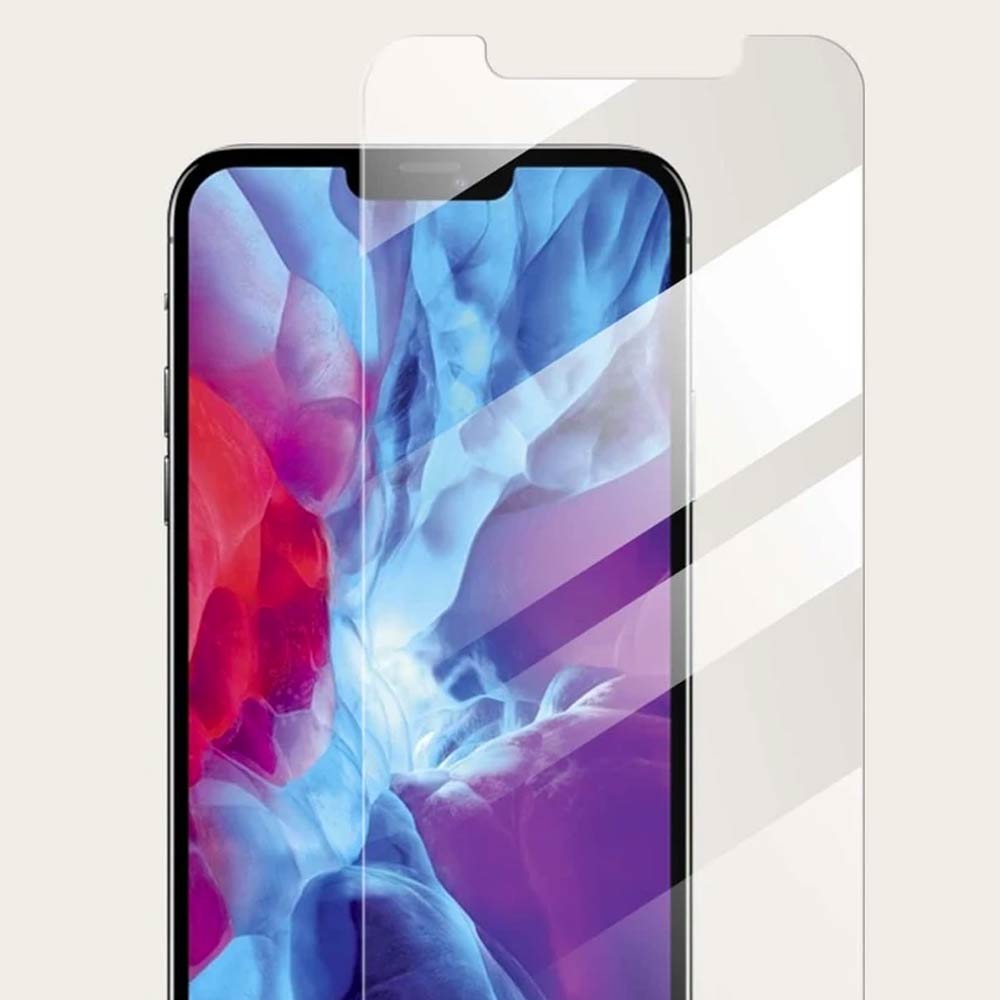
If damage protection is top of your agenda, then we would recommend a tempered glass protector, for the smoothest and toughest shield for your screen. If you are more concerned about aesthetics, then a less visible PET or TPU protector might be better, especially the latter if you have a screen with curved edges.
How to remove a screen protector
When it comes to removing screen protectors, you have two options: using your hands or using a toothpick and credit card combination.
Using your hands
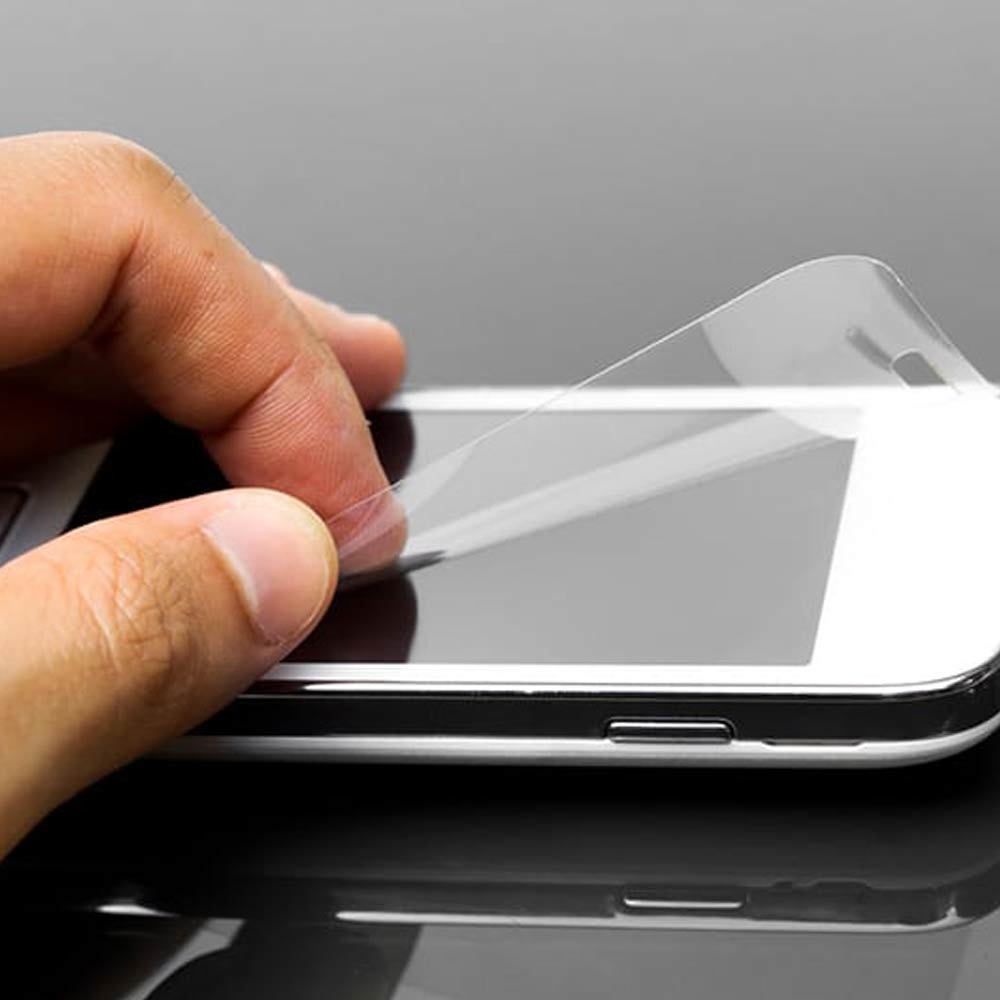
A screen protector that has been properly applied shouldn’t come off easily using your fingernails alone, so to help loosen the adhesive, point a hairdryer on a very low setting at your phone for about 15 seconds.
- Try lifting each of the corners of your screen protector up using your fingernail until it begins to peel off.
- Gently pull up from the corner.
- Slowly peel up along the sides of the protector to make sure it comes off in one piece.
Using a toothpick and bank card
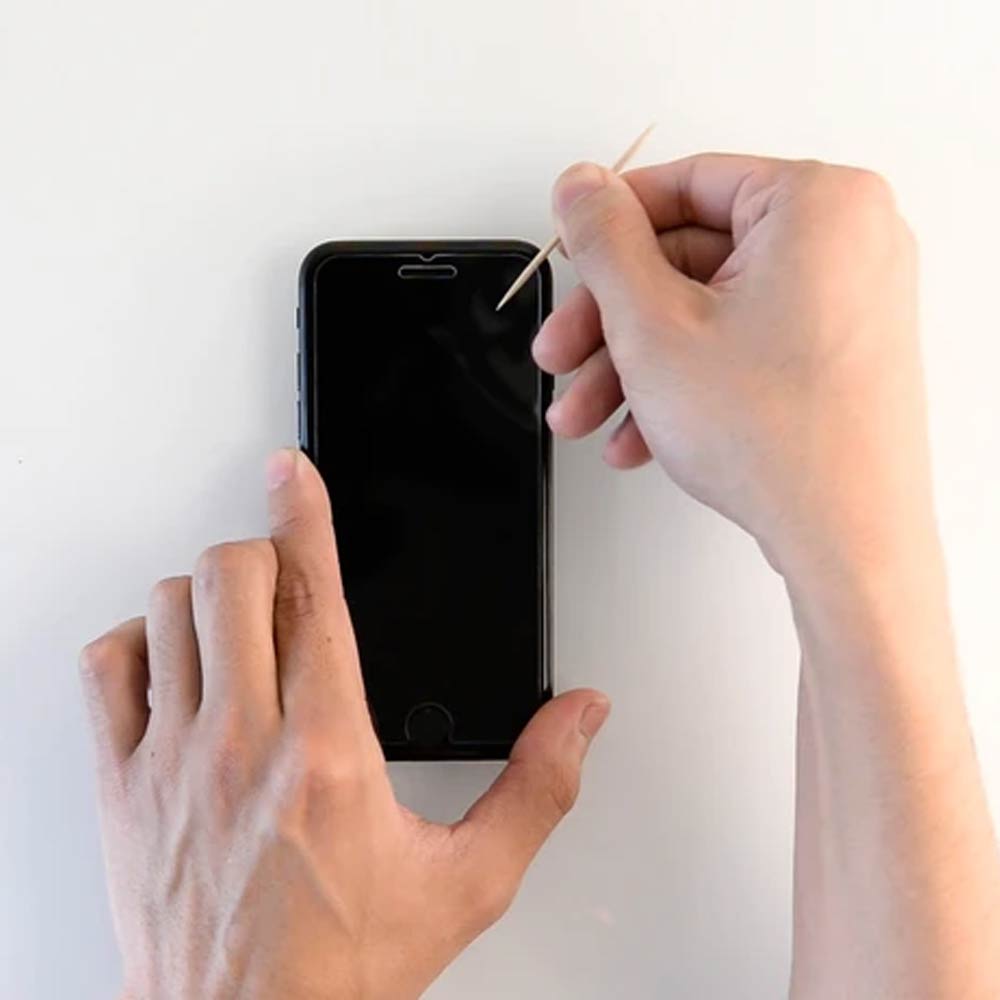 You may find this method more effective than trying to use your fingernails.
- Using a toothpick, try to get underneath one of the corners to loosen the protector. Make sure to point the sharp end of the toothpick up and away from your screen to avoid scratching it.
- Once you have loosened a corner, use your fingers to gently prise the protector away from a corner.
- Slowly peel up along the sides of the protector to make sure it doesn’t shatter.
- Slide a bank card or drivers license between the gap formed and gently guide it down your phone’s screen until the protector is completely off.
Tips for removing a screen protector
The most important thing to remember when removing a screen protector is to go slowly. Be too aggressive and you risk breaking the protector into lots of tiny pieces of glass or plastic which is not only fiddly to deal with, but also creates a potential hazard for cutting your fingers, so it’s best to be as slow and steady as you can.
How to apply a screen protector
If you’re applying a screen protector for the first time or replacing an old one, you’ll want to make sure you follow some basic principles to ensure you apply it correctly. Start by making sure your hands are clean, and then clean your phone’s screen using a microfibre cloth or screen cleaner. You’ll find that many protectors you buy come with appropriate cleaning tools.
Depending on the protector you buy, you will have to follow either a wet or dry application method. You should know if your protector requires a wet application if it comes with a special solution.
Dry application
- Once your screen has been cleaned and is completely dry, remove the film from the sticky side of the protector.
- Line up the screen protector with your phone’s screen. You can use reference points on your phone such as the camera lens to ensure it’s perfectly aligned before you install it.
- Place the protector on the screen starting at one end and slowly move down until it has completely stuck.
- Remove the top layer of film and admire your hopefully successful installation.
- If you notice any bubbles, use a card or microfibre cloth to apply pressure, working from the centre and pushing them out to the edges of your screen in short, quick movements.
Wet application
- Spray the solution on the front and back of the screen protector to ensure it stays moist during installation.
- Slowly place the screen protector down onto your phone starting at one end and moving to the other, making sure it’s perfectly aligned.
- Use the squeegee that came with your kit to push the excess solution out from underneath the screen protector. Start from the centre and push out towards the edges, making sure you hold the screen protector down in the desired position to stop it from moving around.
- Leave the protector to dry for a minimum of half an hour.
- Once the solution has fully bound your protector in place, you can use it as normal.
Tips for applying a screen protector
The best thing you can do when applying a new protector is to remove air bubbles before the adhesive completely sets. Start from the centre, and push bubbles out towards the edge until your protector is firmly attached.
Another tip for dry application is to not remove the film from the sticky side of the protector until the very last second of application. This will help prevent dust particles getting stuck and causing annoying air bubbles.
How to remove bubbles from a screen protector
The best way of removing bubbles that can form between your phone and protector is simply to prevent them from happening in the first place. The biggest cause of air bubbles is applying a screen protector to a phone which hasn’t been sufficiently cleaned beforehand causing tiny dust particles to prevent the adhesive from forming an air-tight seal.
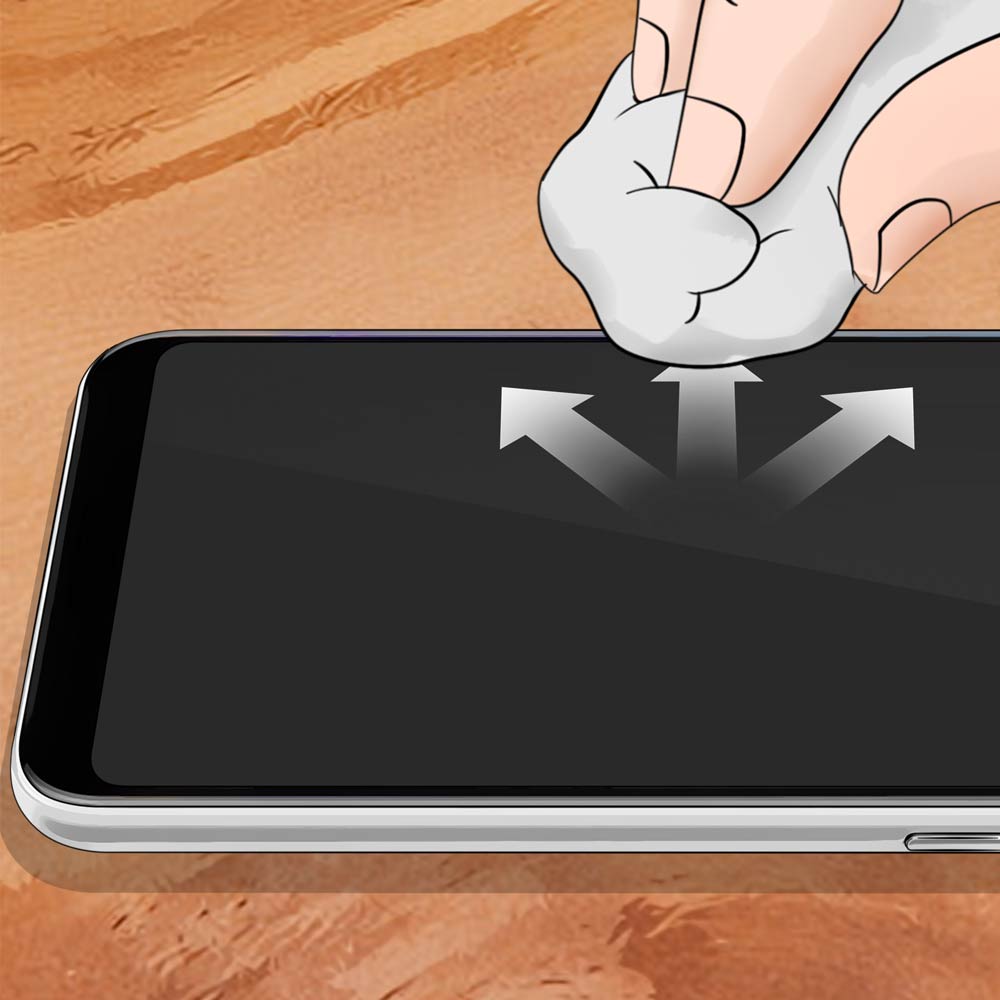
Most screen protectors come with a microfibre cloth and a disinfecting wipe for cleaning your screen before application and using these will go a long way to preventing air bubbles. As well as having a clean screen, make sure you have clean hands and ideally perform the installation in a dust and dander free zone. We have heard rumours that applying a screen protector in a steamy bathroom is best for preventing dust ingress, but there is little evidence to support this theory.
If you notice any stubborn dust particles on your screen after cleaning, a handy trick is to use sticky tape wrapped around your finger to pick up any last bits of dirt that could cause air bubbles.
How to remove existing bubbles
If you want to remove existing air bubbles you have two options.
The first is to lift a corner of your protector off ever so slightly, and use a bank card or driving licence to push the bubbles towards that corner to escape.
The second is to have patience and wait for any bubbles to go away on their own. Many will simply work their way out naturally after 48 hours, so it may be worth biding your time before resorting to the plastic card method above.
